
2018 Disclaimer: I’ve since switched to KeePassXC. More on that here. It’s been a little while since I’ve started playing around with Linux Mint on my laptop. It took me very little time to install few major applications and all seemed good. Then I run into a situation which prompted me to convert my desktop…
Author: Alexander Yermakov
Adding NEF preview to Linux Mint file manager Nemo
If you want to be able to preview NEF (Nikon raw) images in Linux Mint’s file manager Nemo, you need to do the following: Open Preferences window for Nemo file manager from Edit -> Preferences menu Switch to Preview tab within the Preferences window Set “Show Thumbnails” to Always if you want to show thumbnails…
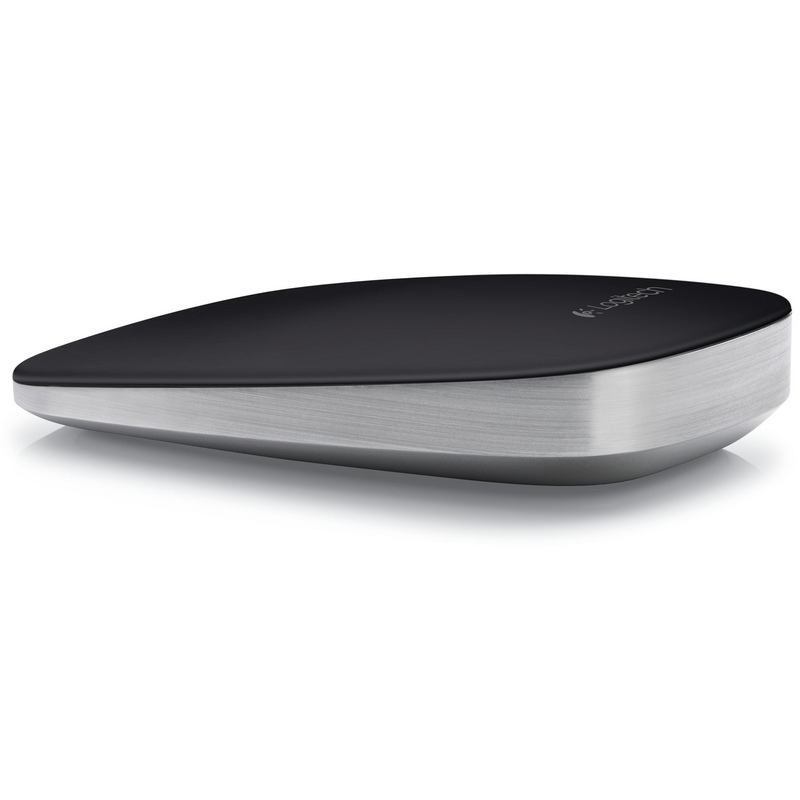
Reconnecting a bluetooth mouse in Linux Mint upon reboot
I use a bluetooth mouse with my laptop (never could understand manufacturers pushing their proprietary USB wireless peripherals – why take up a USB port when all laptops have bluetooth built-in). When I installed Linux Mint (version 17.3) it has connected to my mouse just fine and I was able to use it with no…
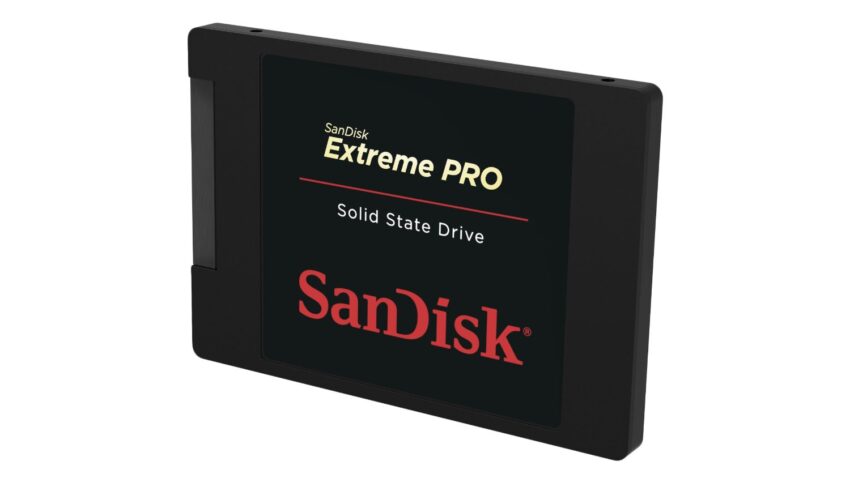
SSD drives and Linux
Here is what I’ve done on my laptop to ensure better longevity of my shiny new SSD. The idea is to minimize write unnecessary write actions on the drive to prolong it’s life. For this I’ve followed few different sources, with one of them being the most specific and prescriptive. Ensure that your drive is…
Linux vs Windows
Well, it’s 2016 and the most recent Windows release (10 that is) is getting more and more bad publicity with the security and privacy issues. I have been looking at upgrading to Windows 10 but with all the news decided to try Linux. Again. I decided to switch my laptop first. Just recently bought a…
D800 focusing issue. The end.
Haven’t had time to post here about the saga with my D800 (previous posts are here and here). After much debate with Nikon Richmond Service center I got referred to the corporate office in Mississauga, Canada. Even though originally it seemed like my issue was going to be ignored further, I actually got good service…
DNG files preivew in Windows Explorer
In case you use DNG format for your raw images, there is an add-on for 64bit Windows OS that allows preview in Windows Explorer. For more details please visit the vendor’s site.
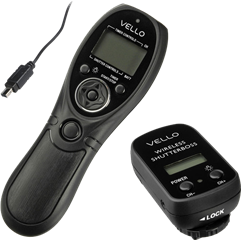
Wireless remote for Nikon D800
There are many uses for a camera remote – you may need to secure your camera on a tripod and ensure that there is no shake to the camera when shooting, or you may need to expose for long time or maybe you want to just take a picture with yourself in the frame. My…
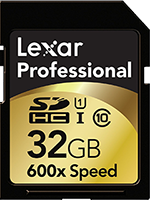
D800 memory cards
I don’t think I mentioned this before but I am using SD cards with my D800 exclusively. Main reasoning for not using CF cards is to minimize number of gadgets I need to have and travel with. Since most laptops released in the last few years have SD card readers it becomes a big selling…

D800 focusing issue. Part 2.
Today I got my camera back from Nikon’s service center in Vancouver, BC. They sent it back saying it’s within specifications. I set up another test environment with different target this time – star chart. This was a second trip to the service center. After first trip my camera came back with improved focus when…